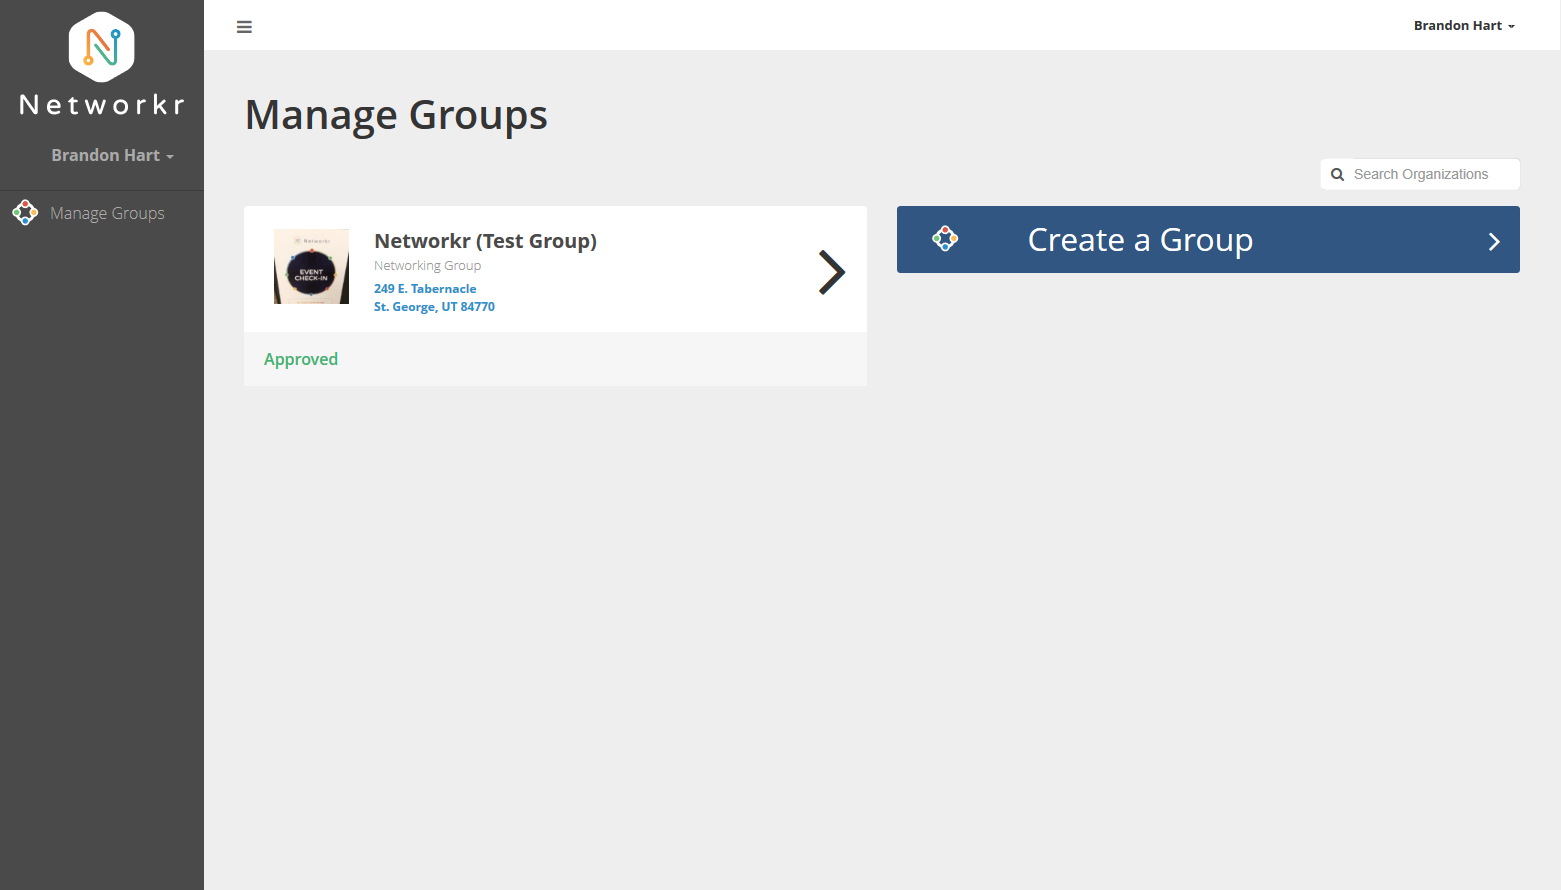
After logging in select the group you want to manage.
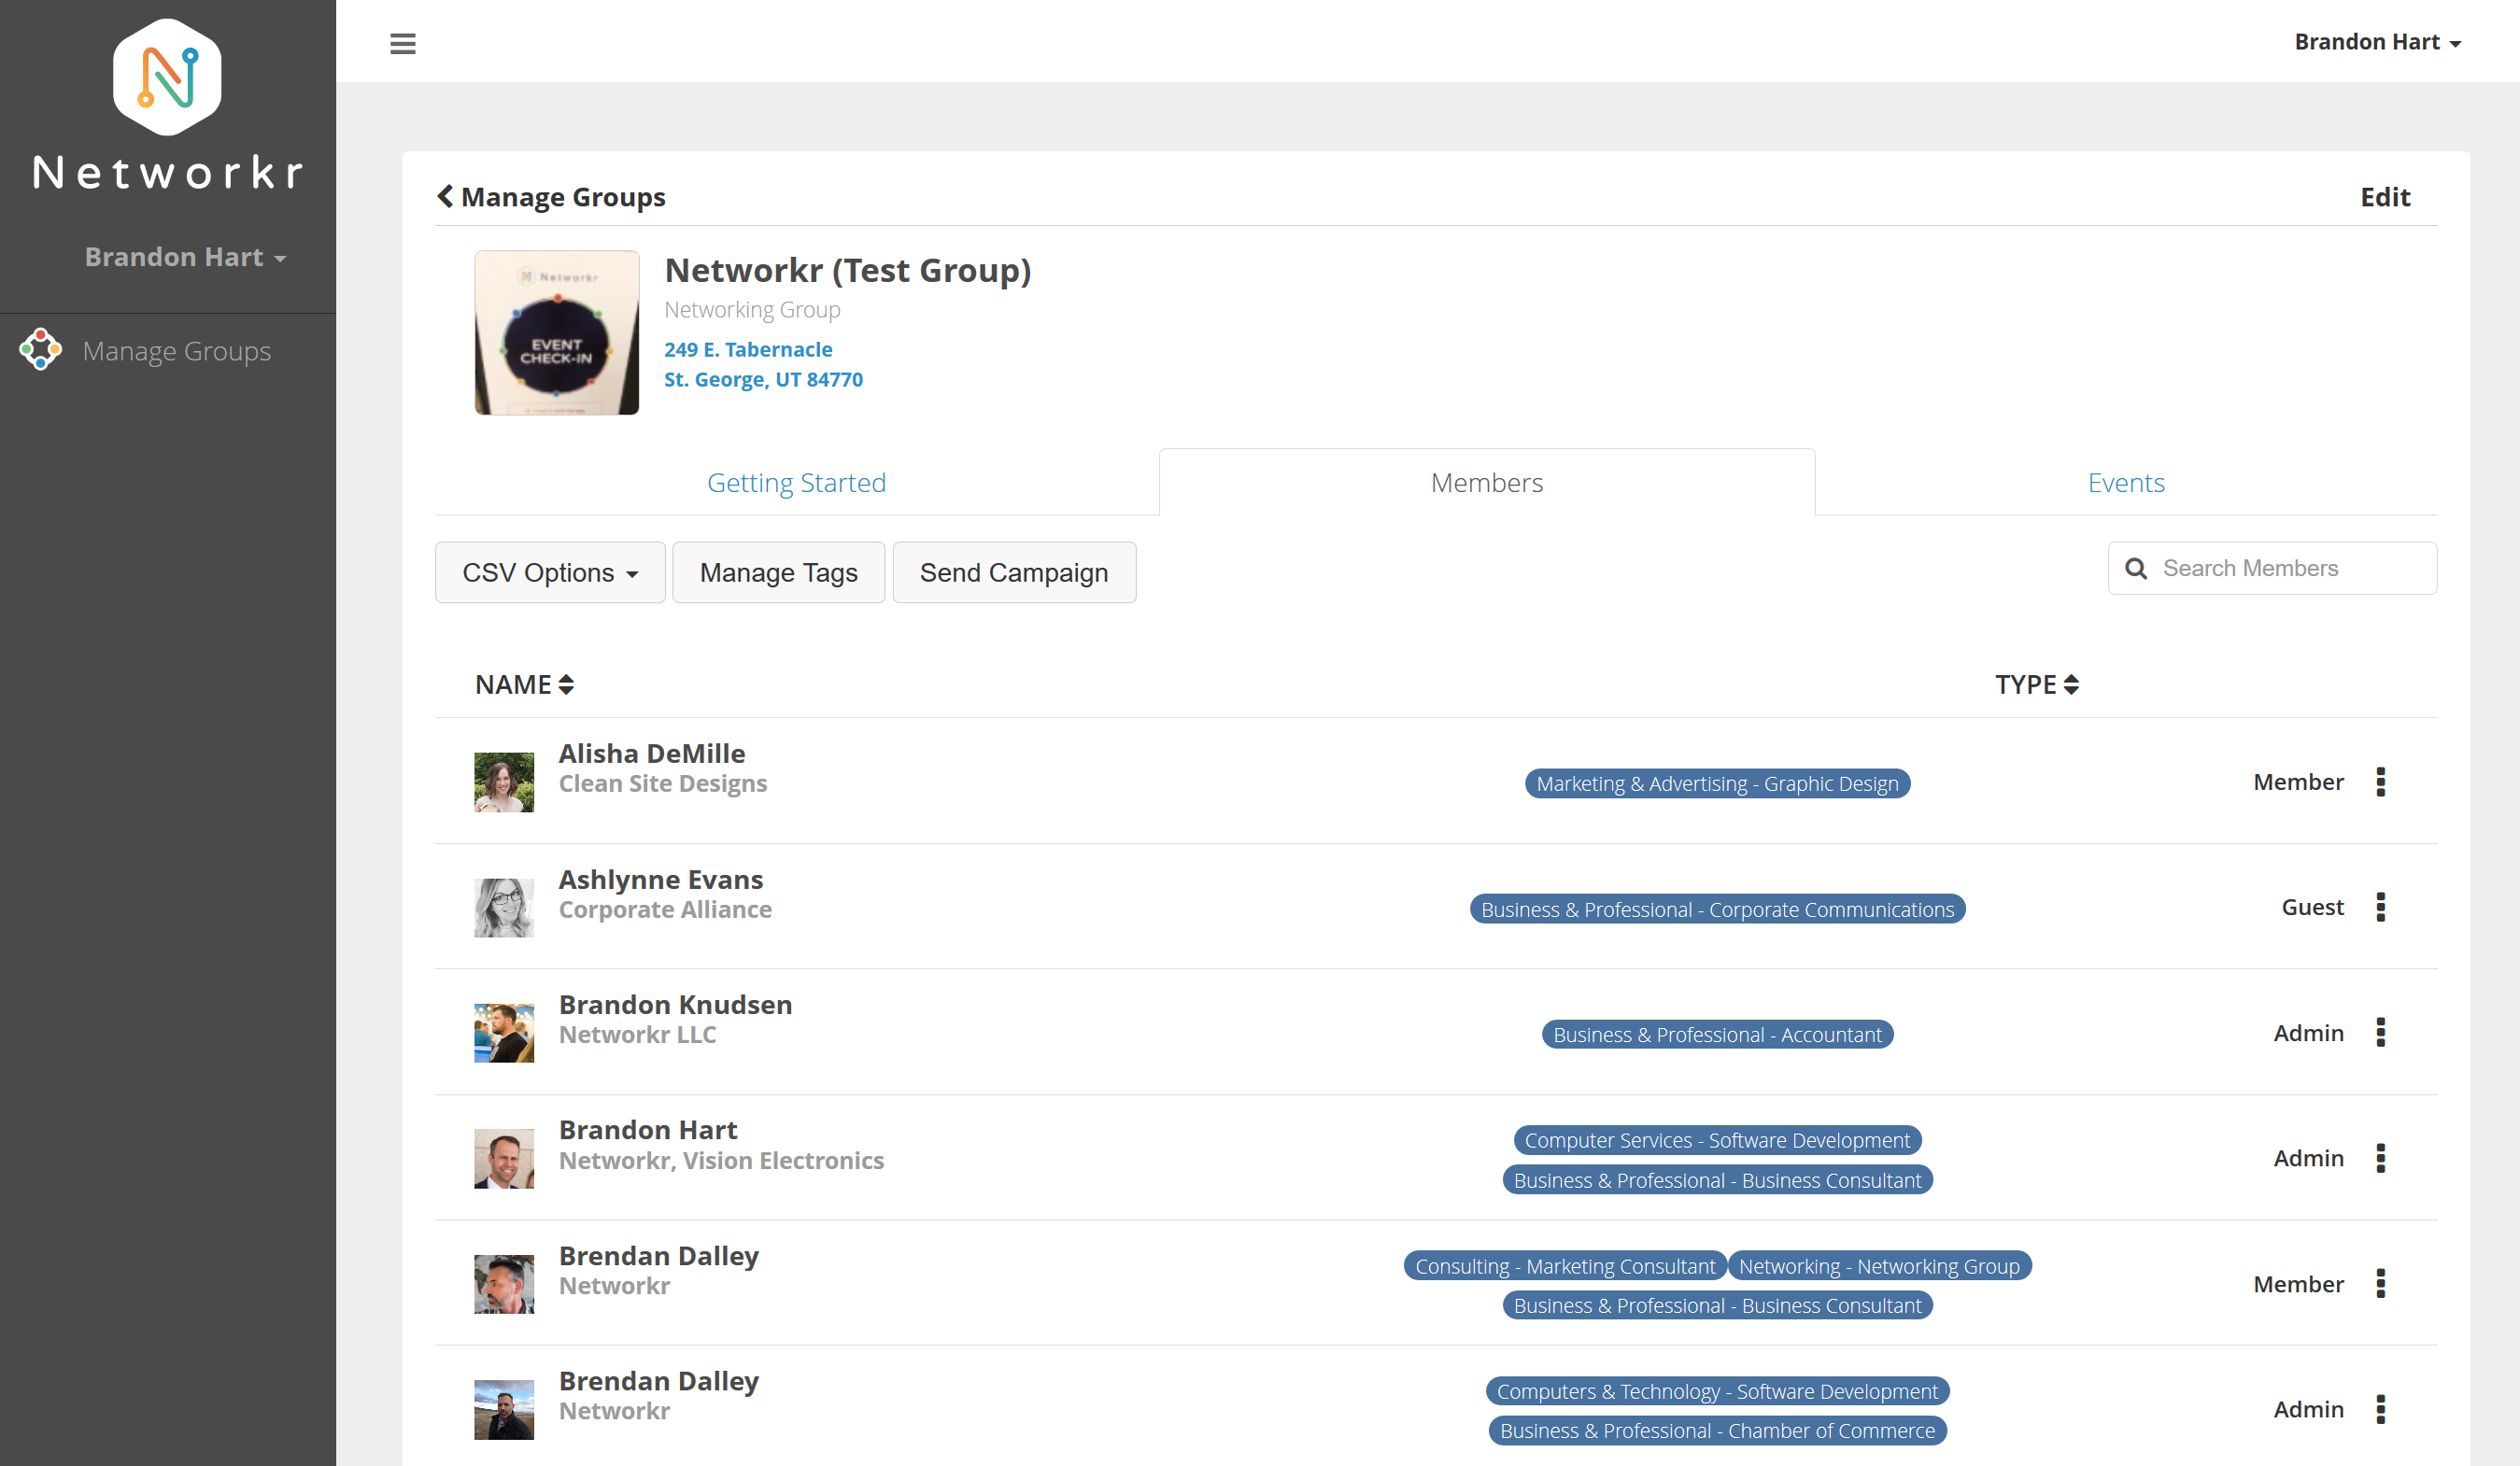
Click on the "Members" tab under your group. This will show all of the members in your group.

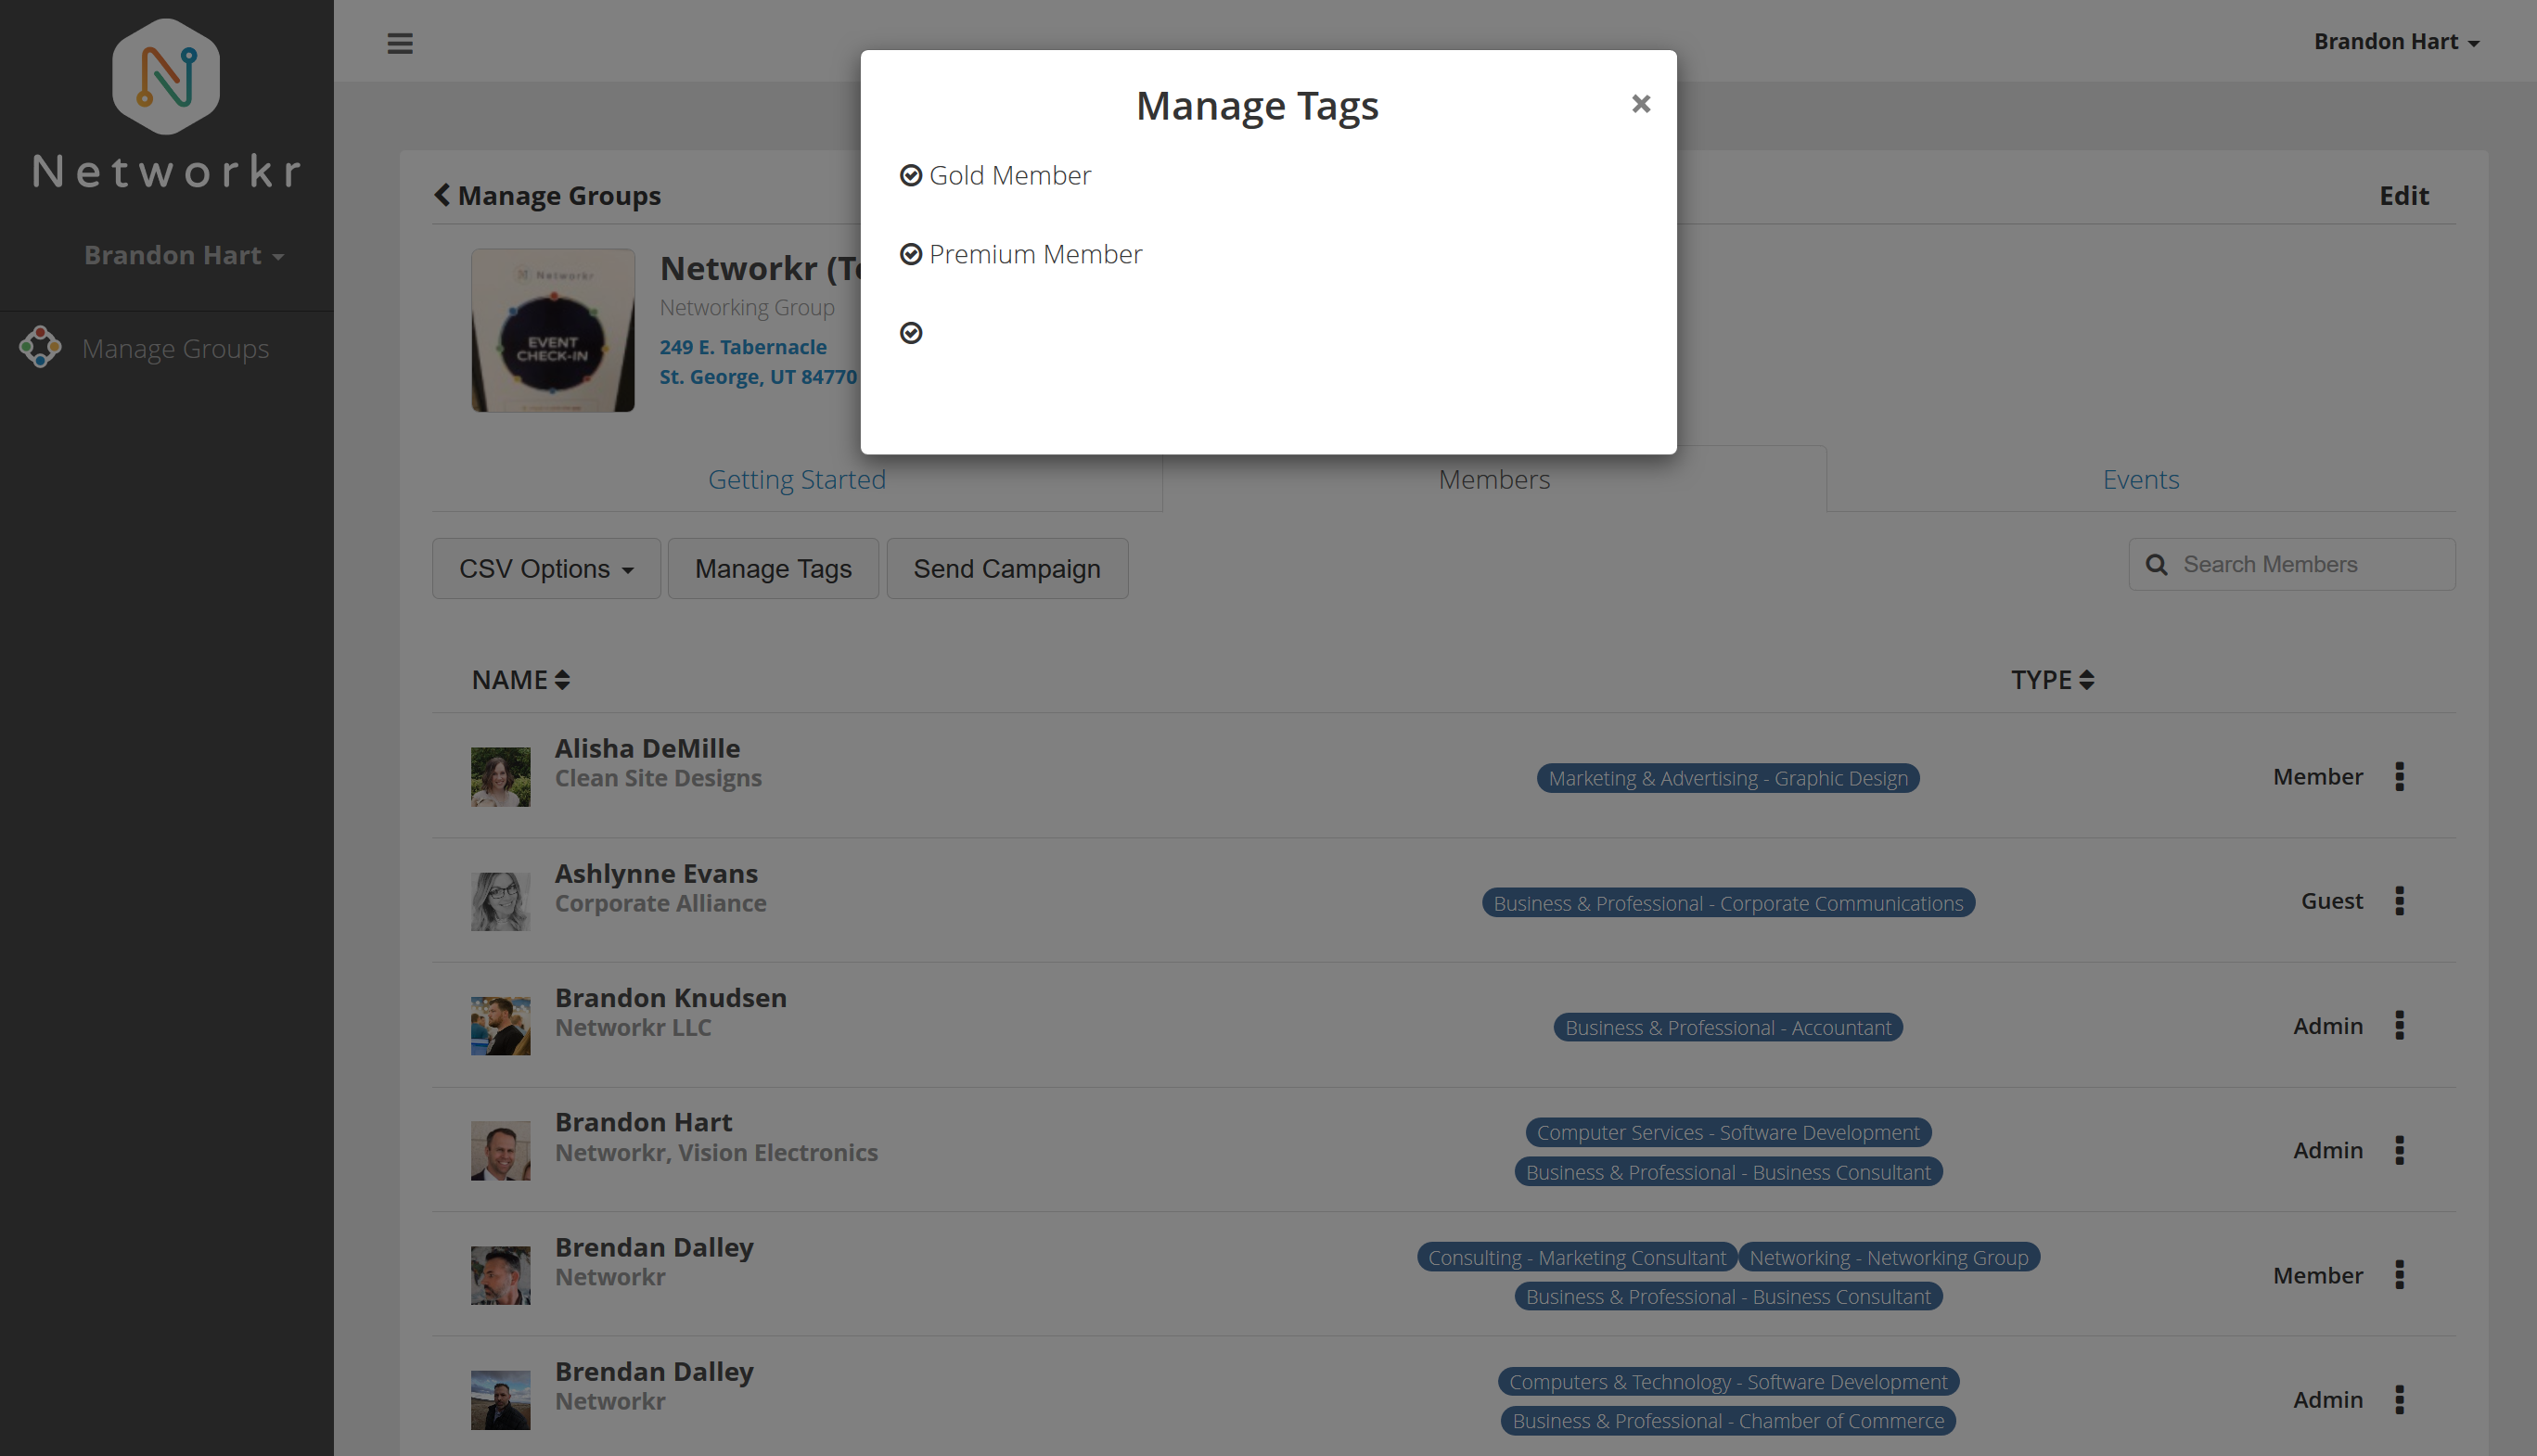
To create tags click on the "Manage Tags" button.
Tags can help you manage your members into different groups or subscription levels. Once levels are created you can send e-mails or notifications to specific members of your organization using their tags.
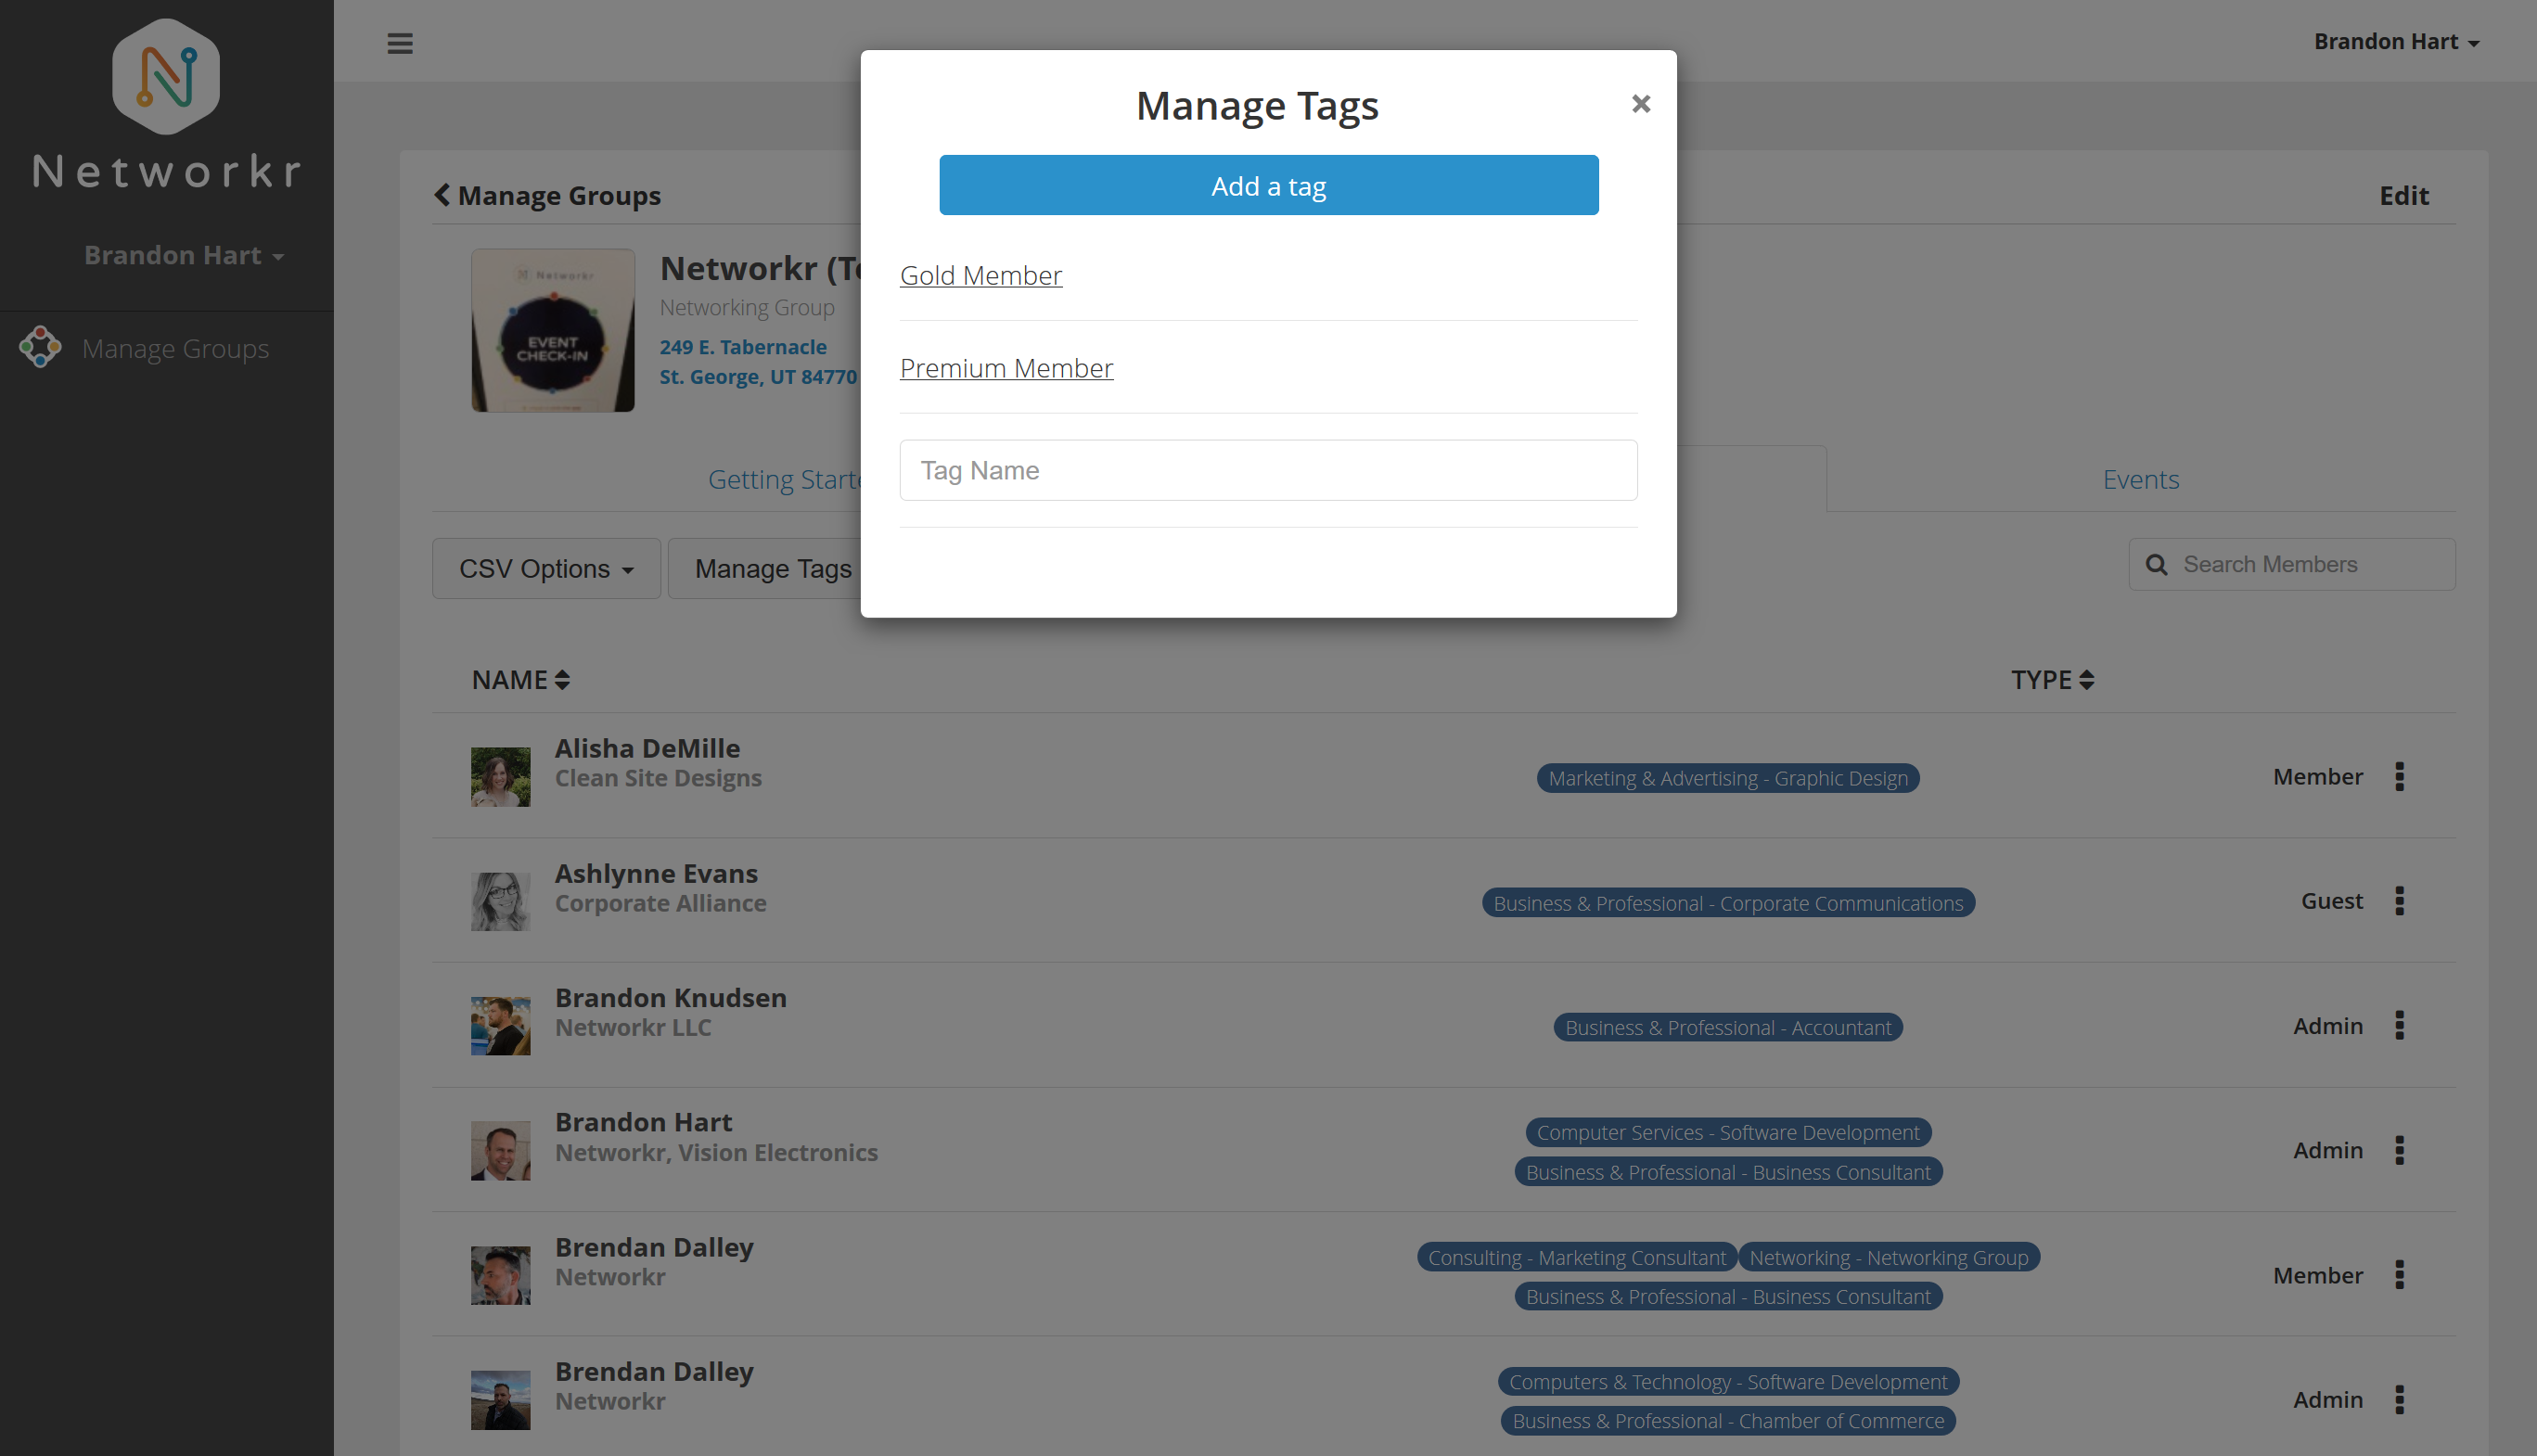
Create as many tags as you need for your group. I have created two here.
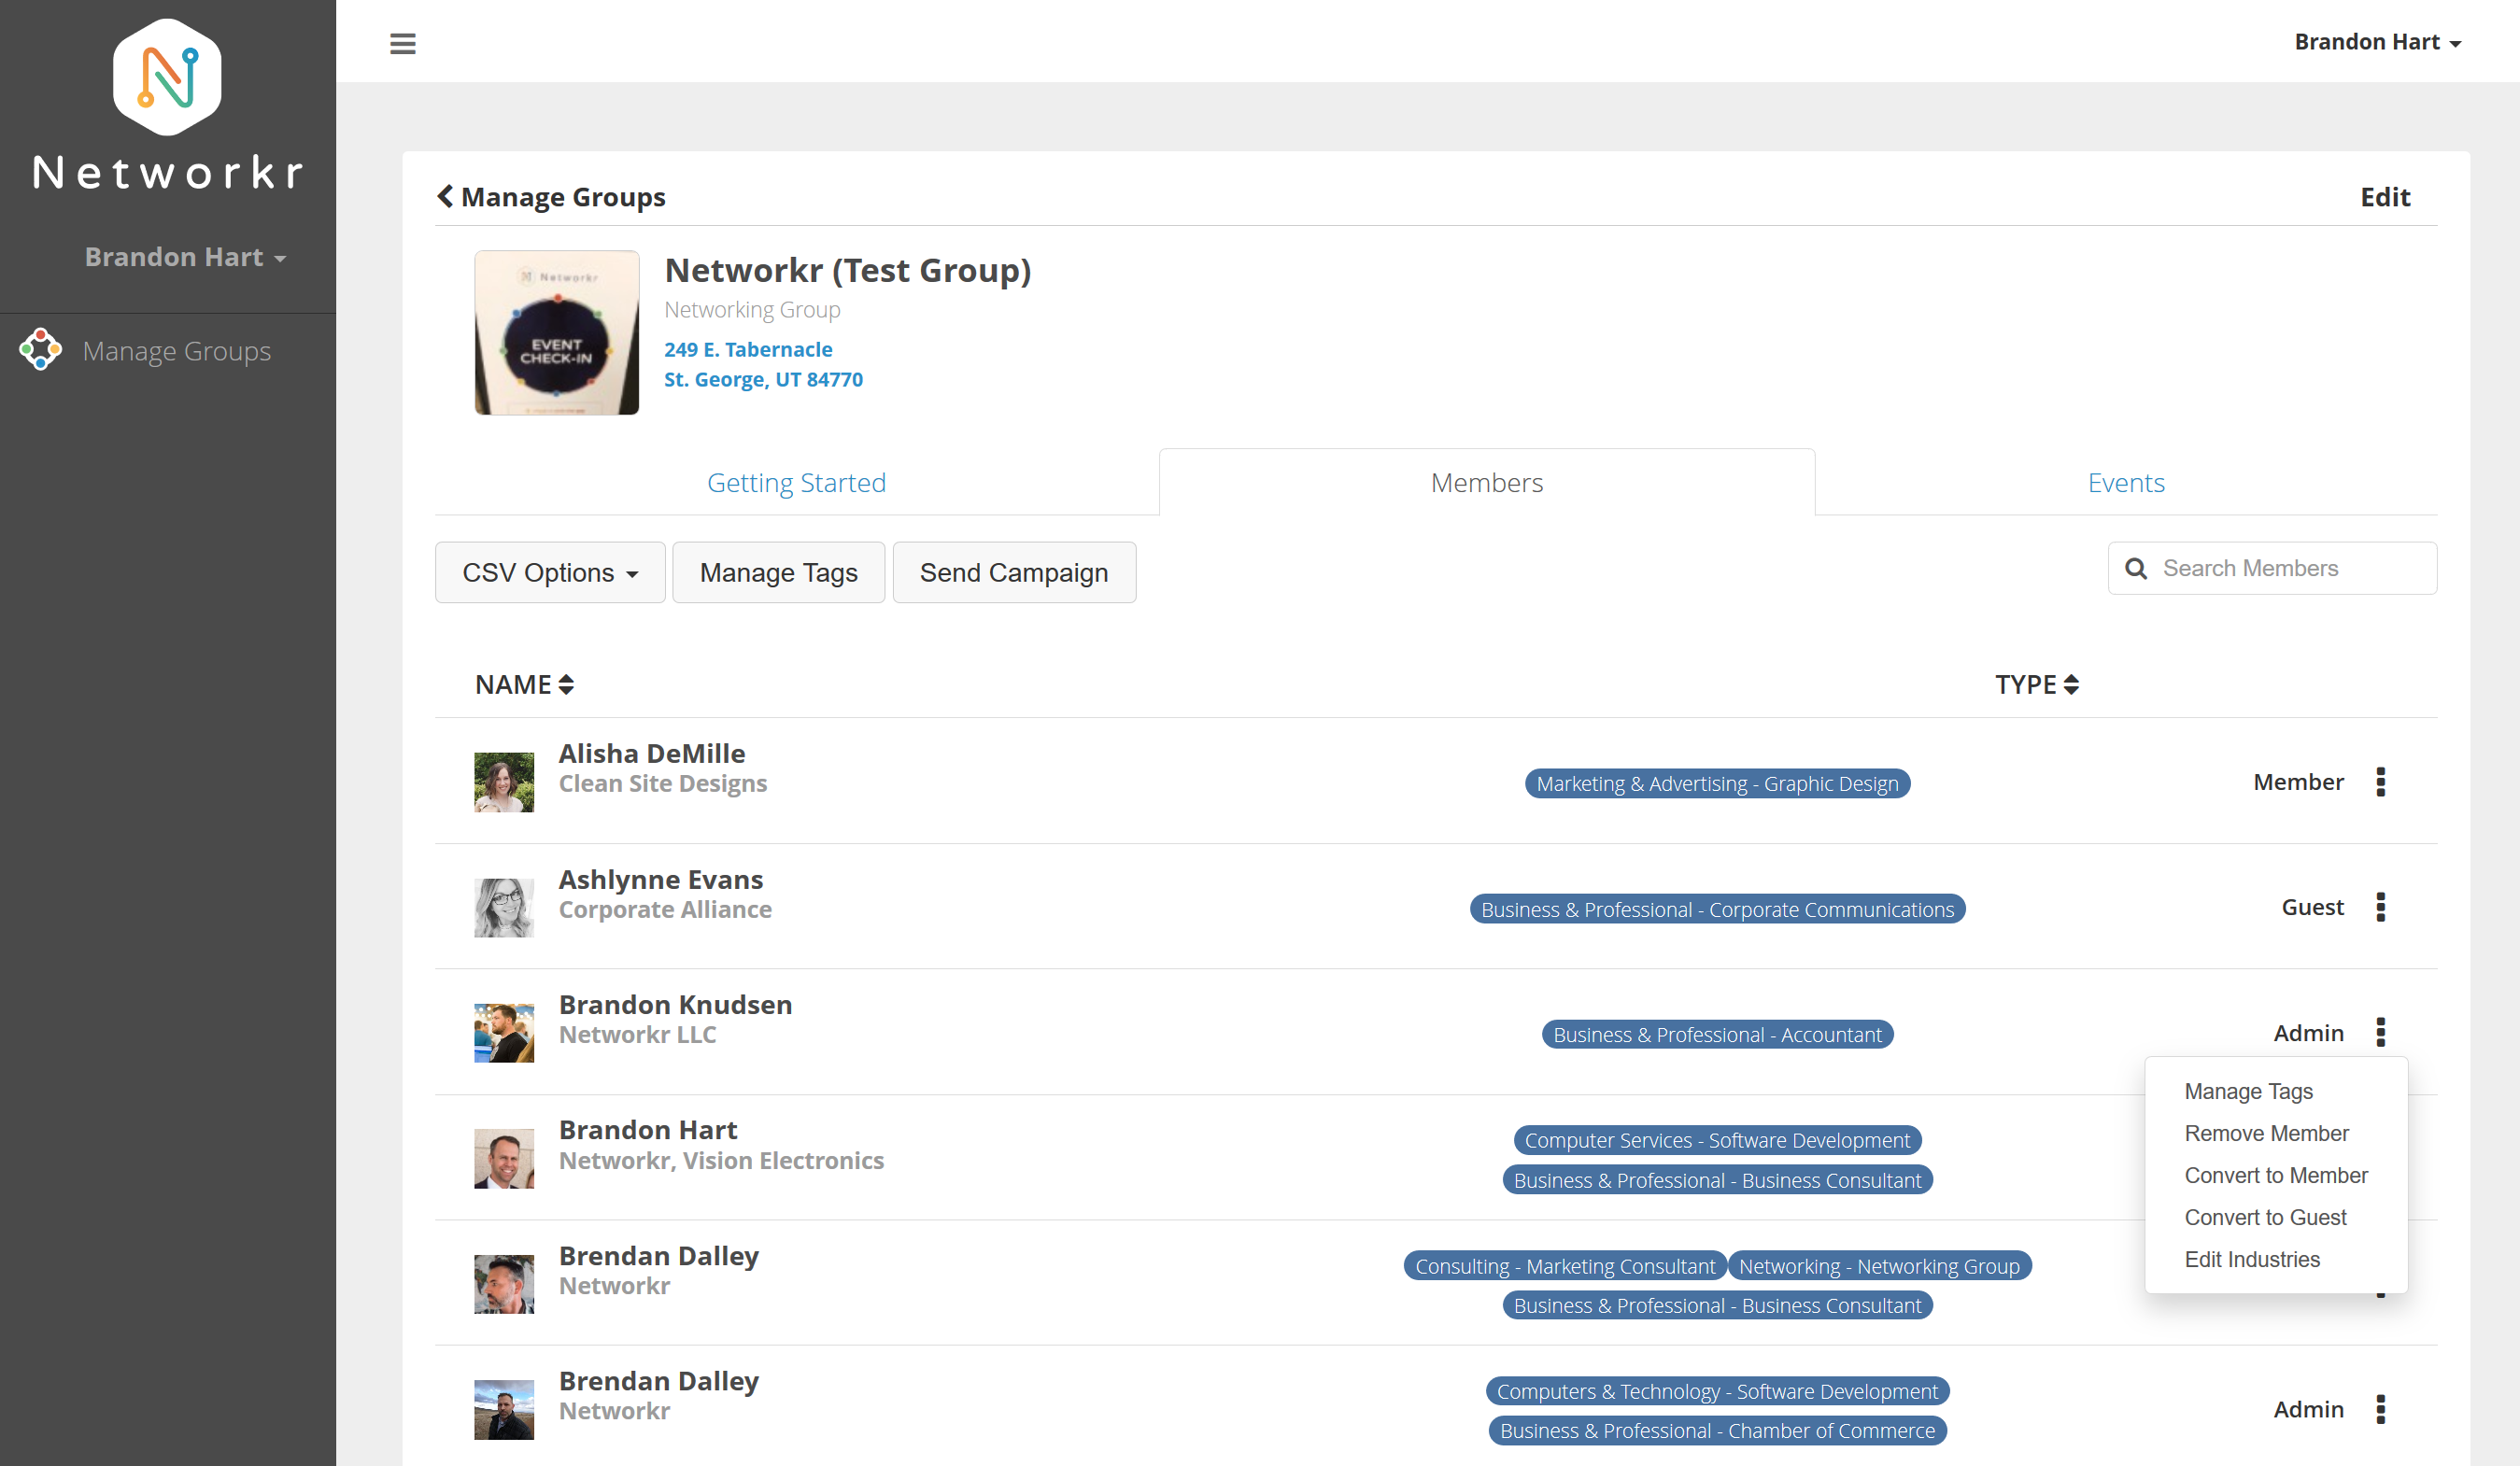
Once your tags are created right click on the "options" tab on the far right side of the member you want to add a tag to.
Select the tag/s you want to apply to that member and close the window when you're done.
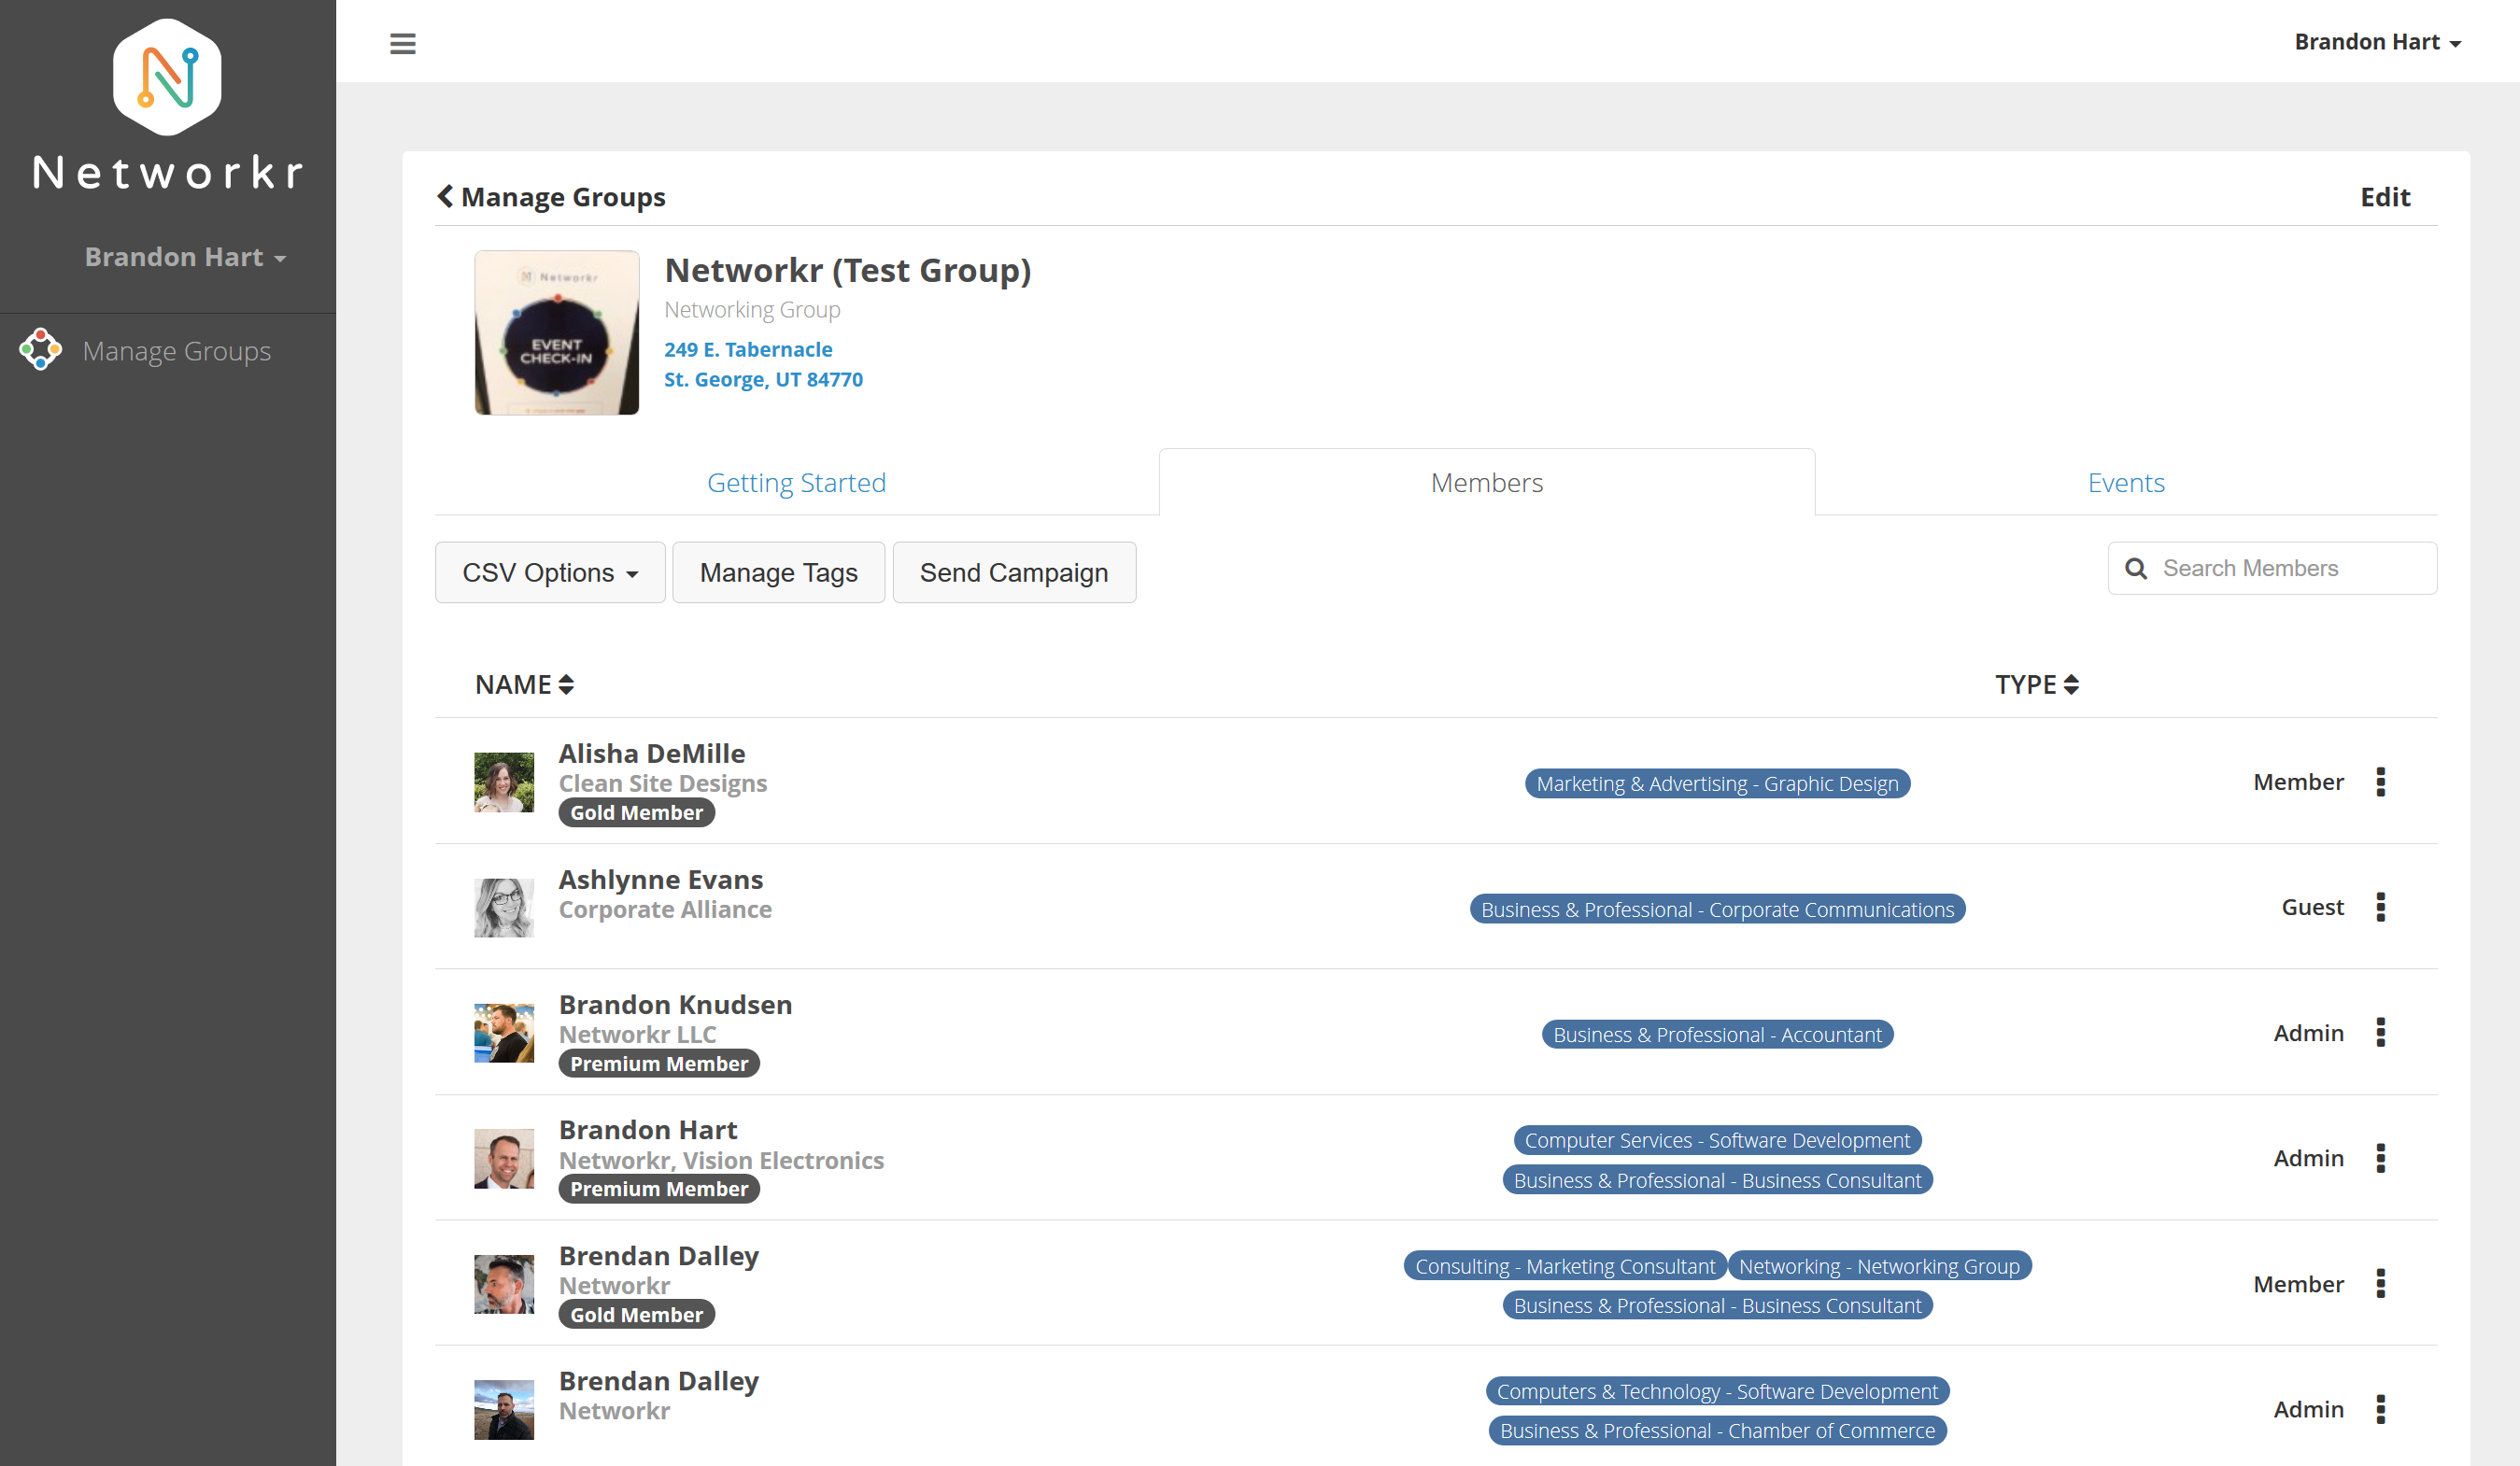
Repeat this process to add tags to the members of your group.


