
Name your event and the type of event it will be

Upload an image for your event by clicking the "Upload Image" button

Under "Event Description" you can write a description about the event.
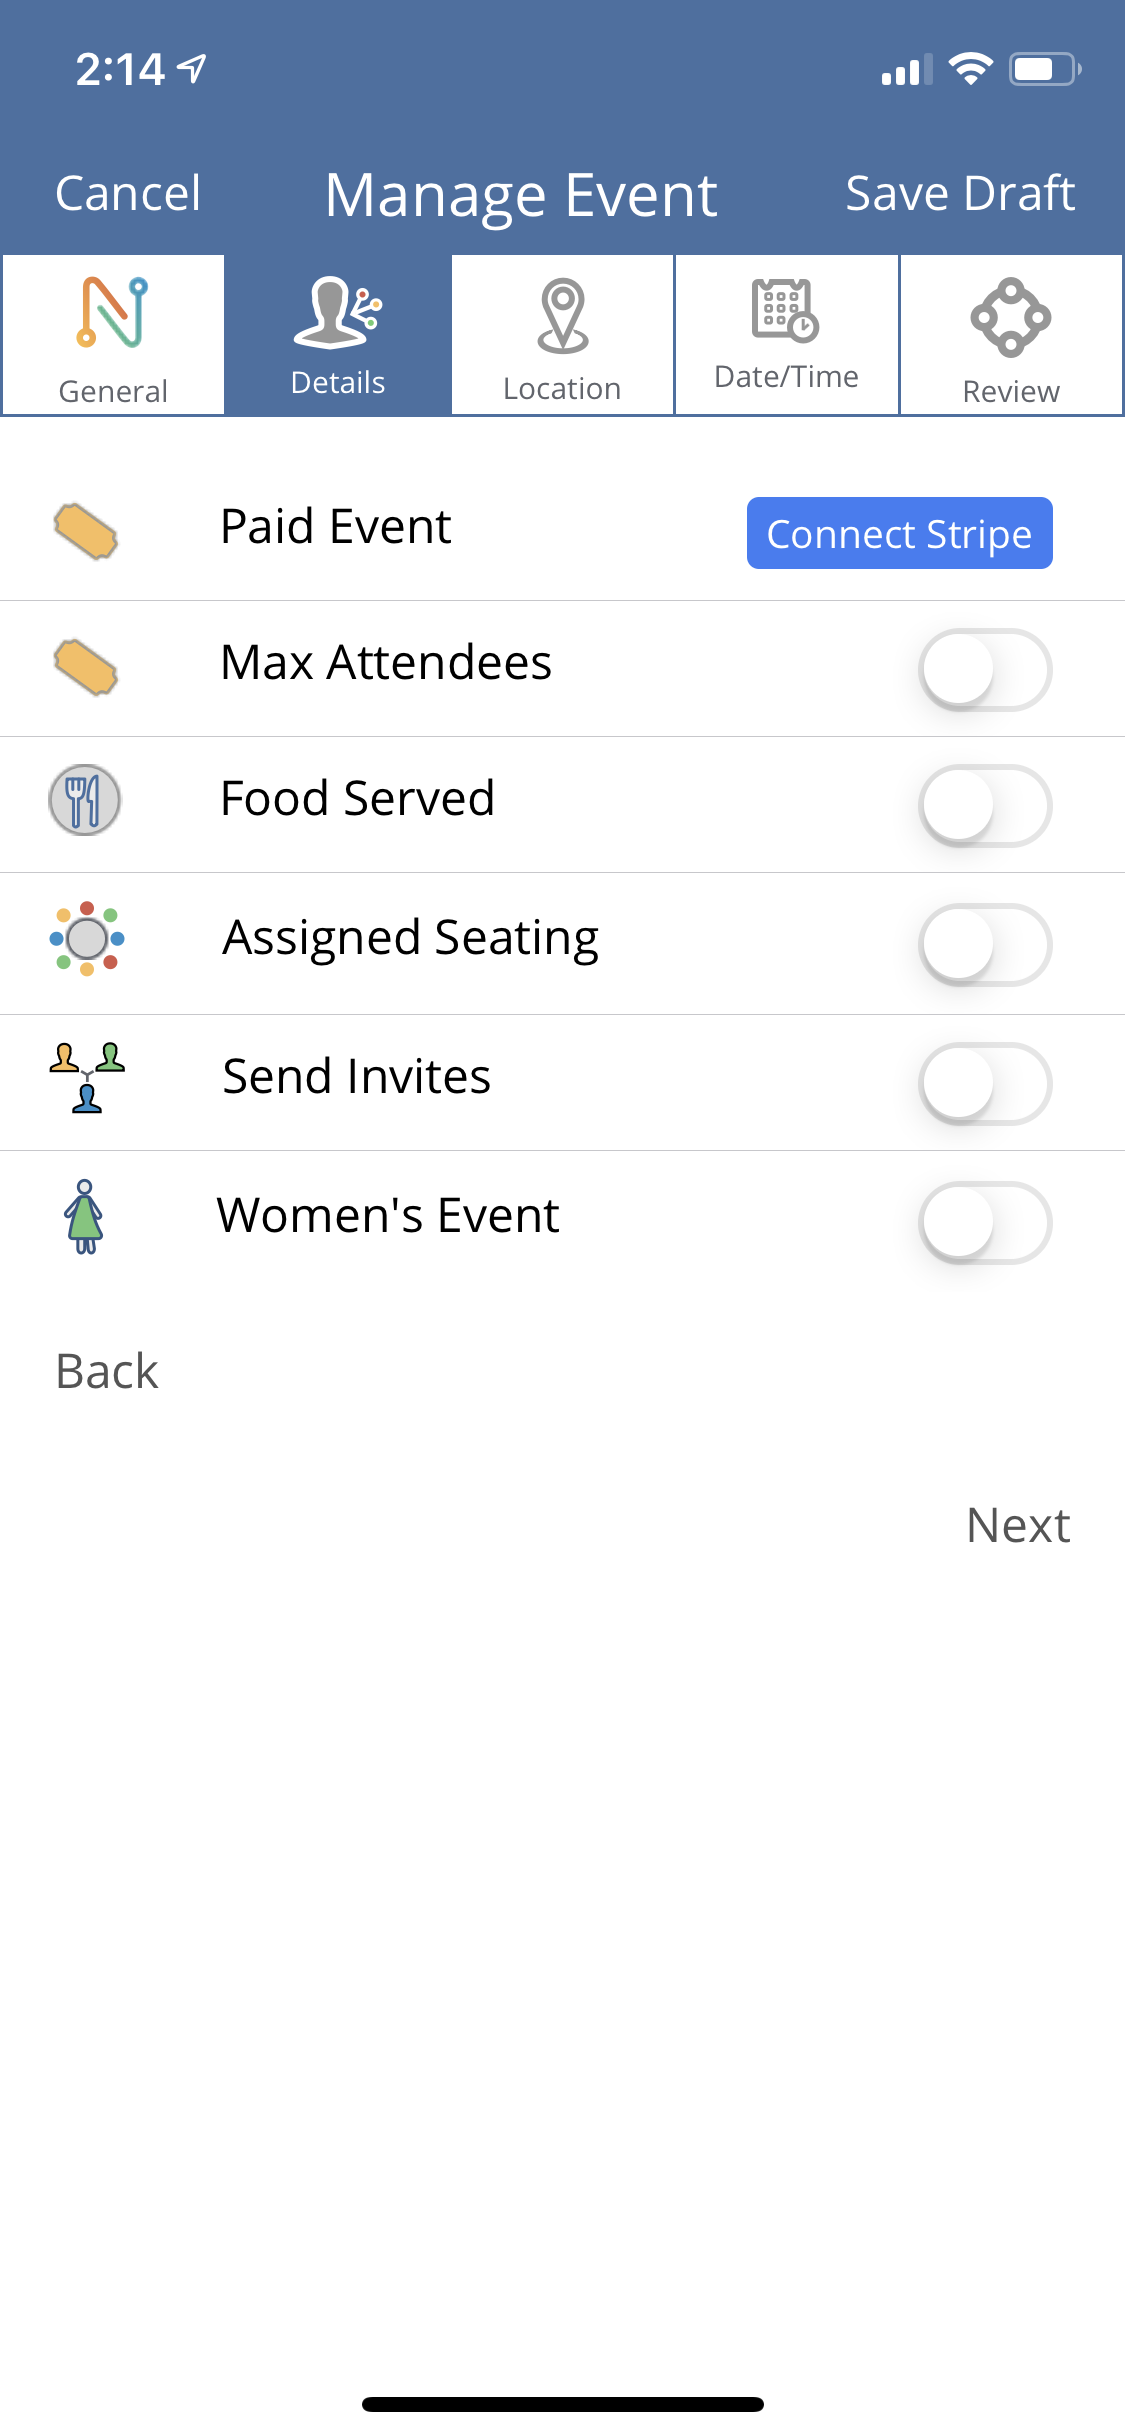
Select the "Details" Icon at the top of the screen
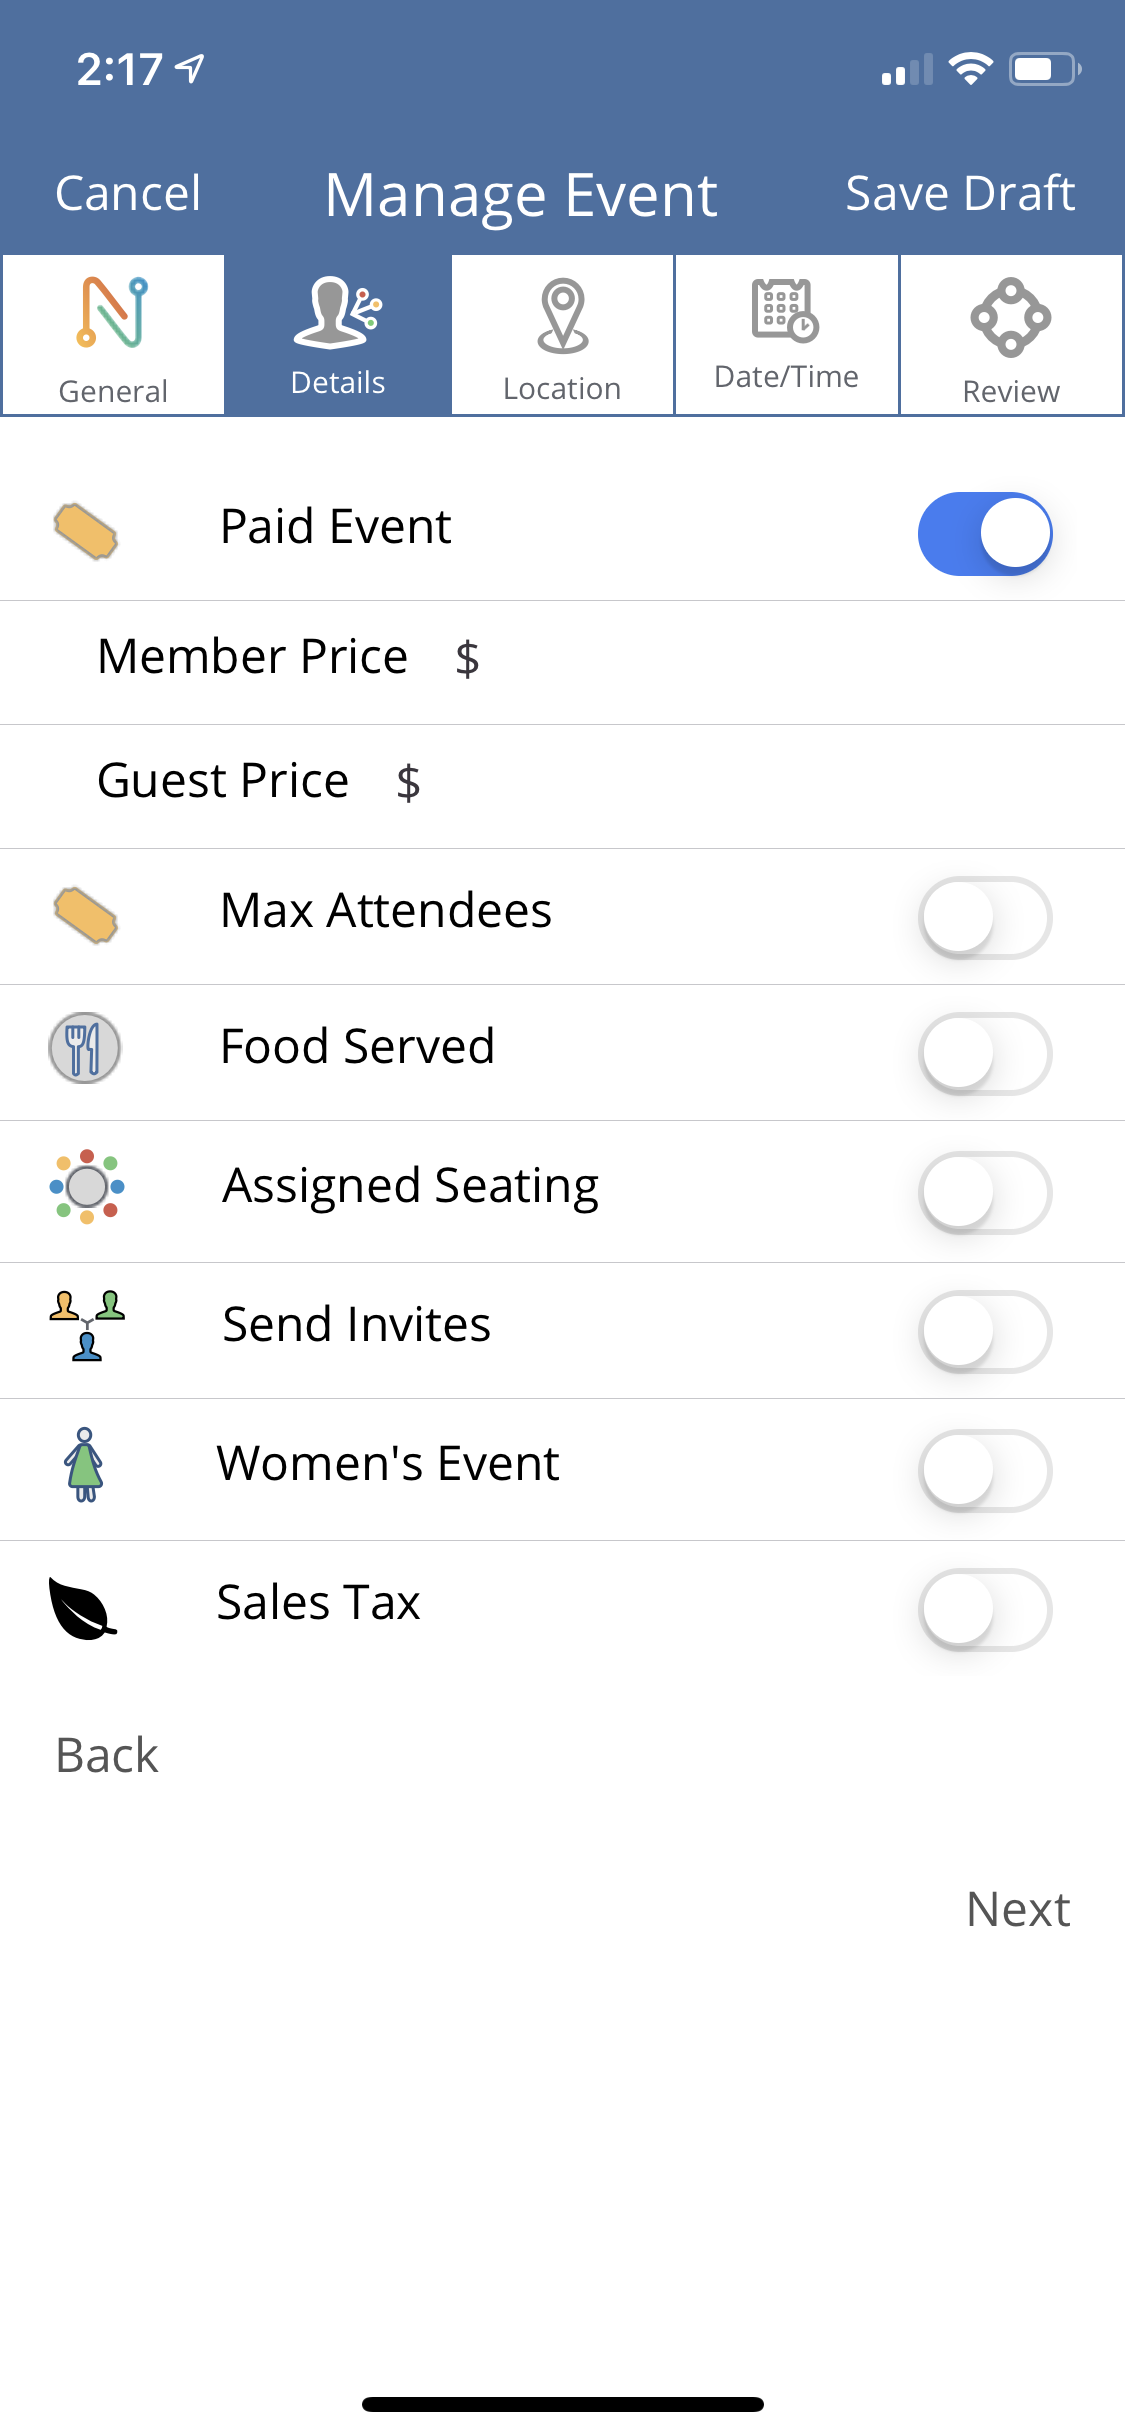
Paid Event- If you are going to charge for this event you can include that here. You can create a separate price for both members and guests.

Max Attendees – This will limit the number of people who can RSVP for your event. Once that quota is reached anyone else who tries to RSVP will be notified that the event is now full.
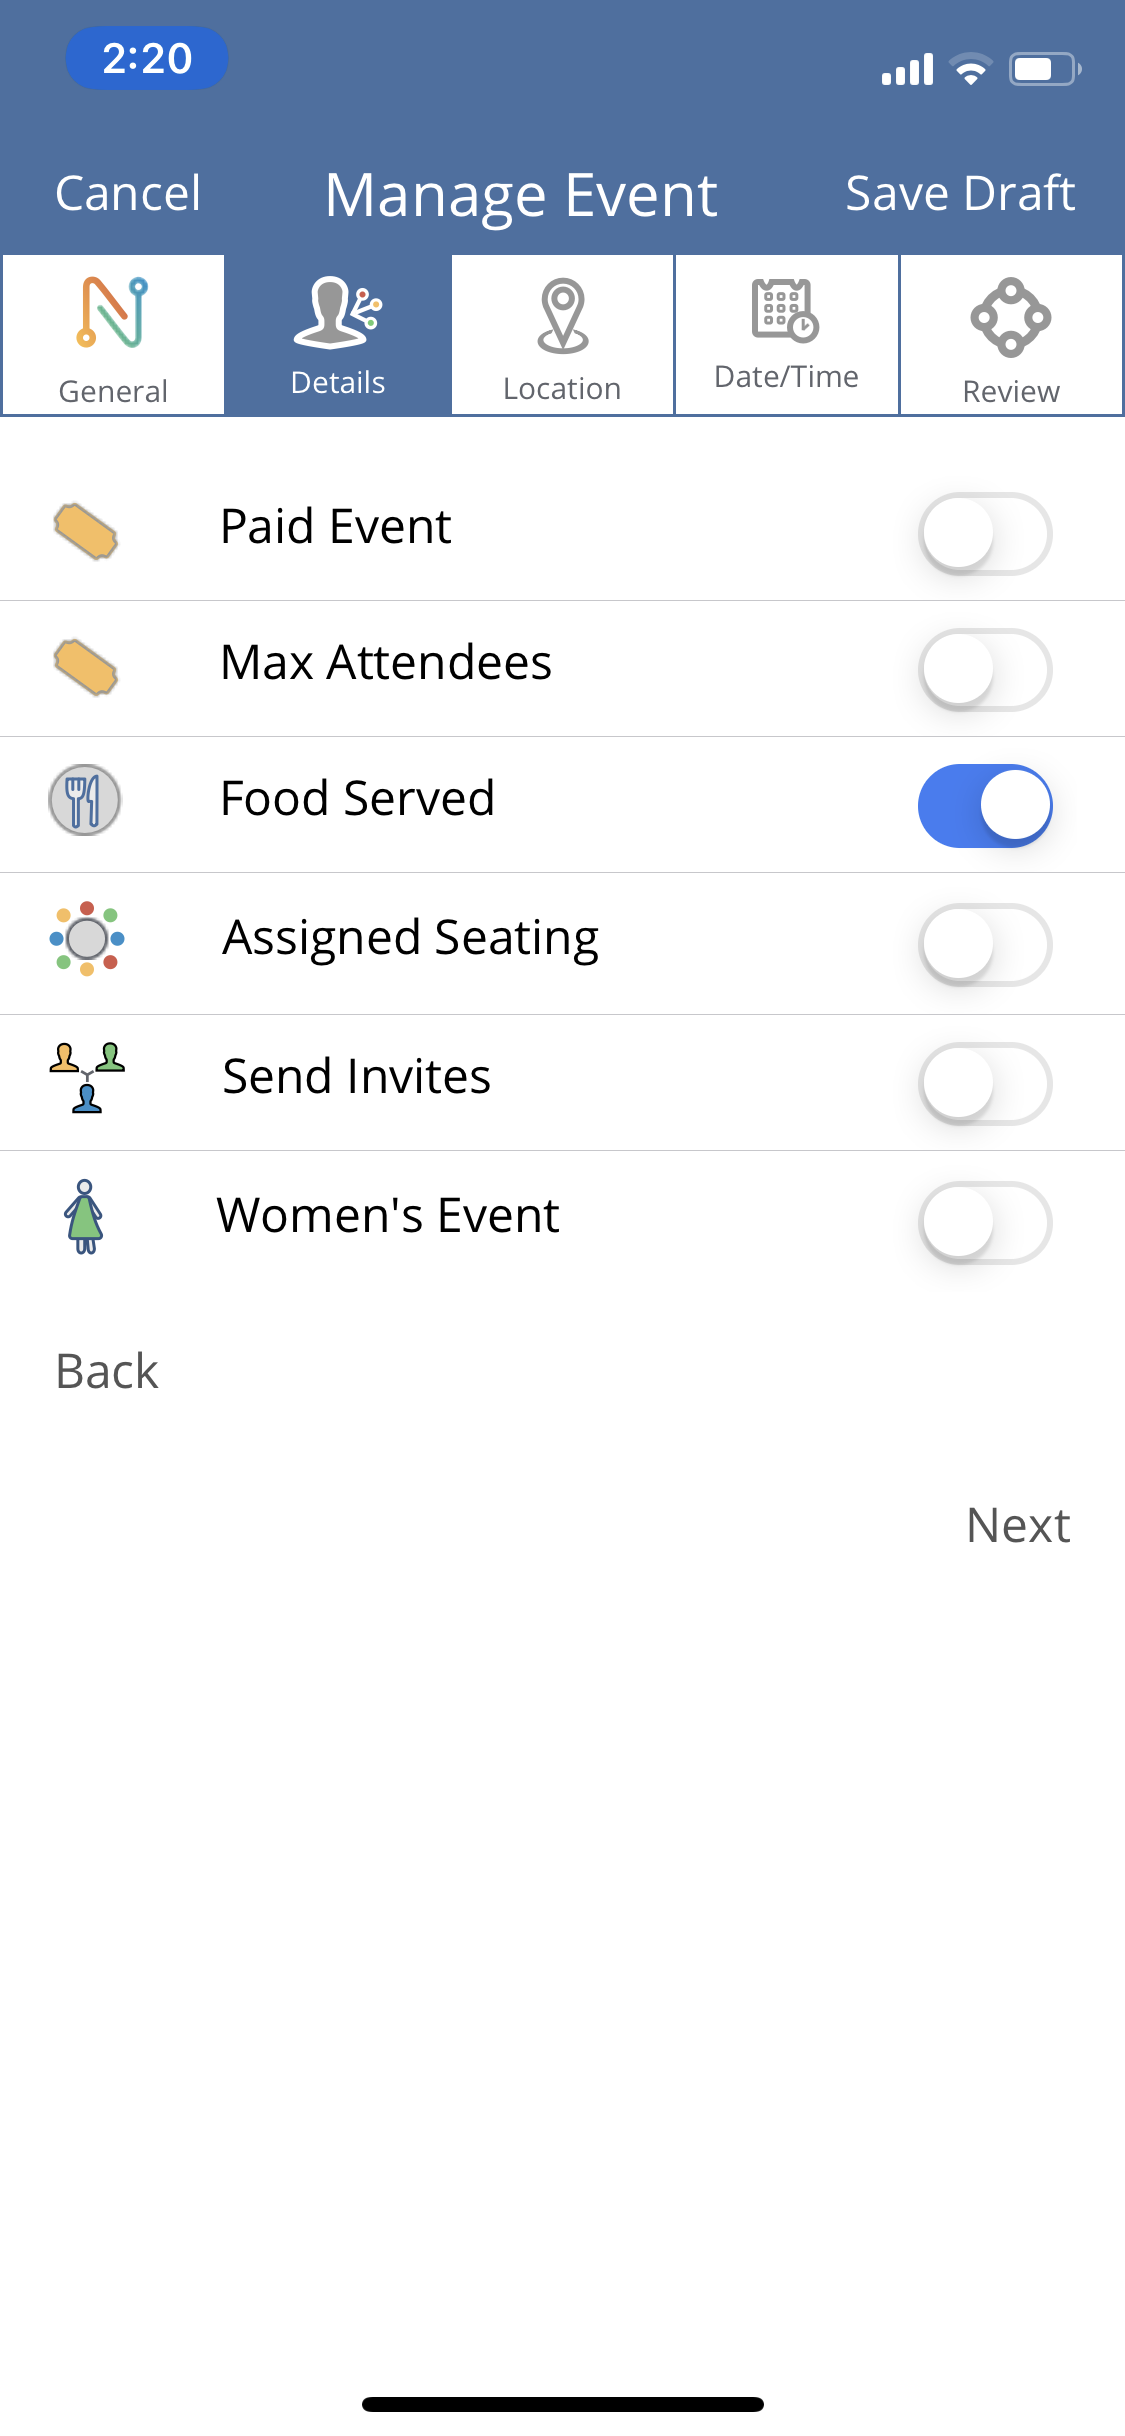
Food Served – If you will serve food at your event check this option

Assigned Seating
Assign Seat During Check-In – This option assigns seats as attendees arrive.
Assign Seat After After Check In – This option will assign seats after everyone has arrived and is checked in.
Max # Of Tables – The number of tables available at your event
Max # Of Seats/ Table – How many people can sit at each table
Send Invites- This will send invitations to your group members after you publish the event. You can select Push Notification, Text, Email, or a combination of the three. (Note: Message only goes out on push notifications and text options.)
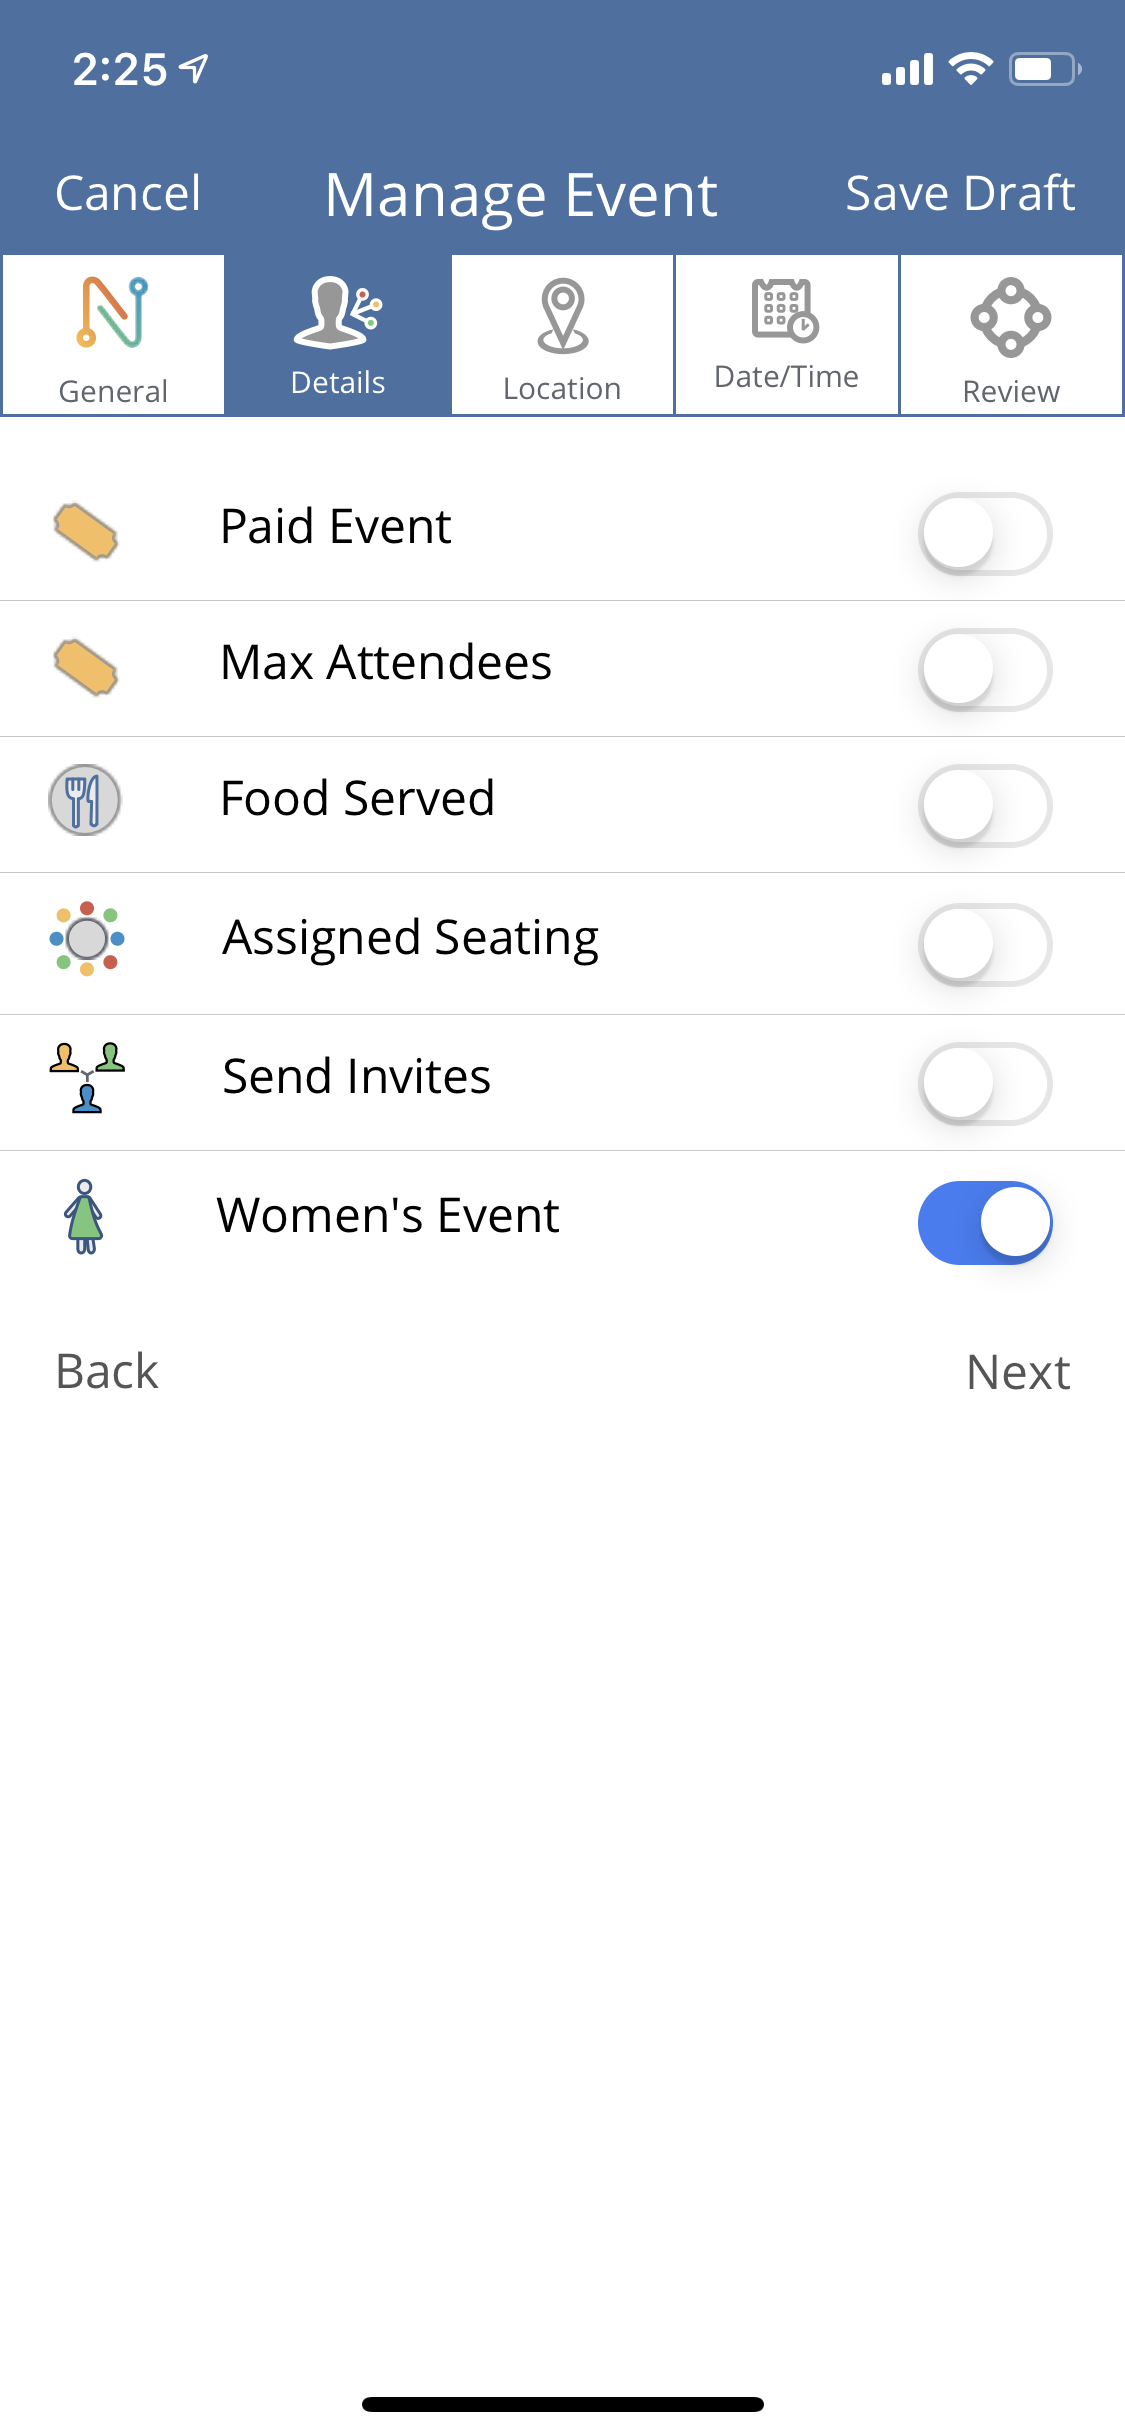
Women’s Event – This will list as a “women’s only” event

Click the "Location" tab at the top of the screen.
Fill out the information so attendees know where the event will be held.

Select the date and time for your event.

If you need to edit the date or time for you event you can click the "Date & Time" tab at the top of the screen.

Review - Look over the information and make sure everything is correct. Press the “publish” button and your event is now live. Invitiations will be sent and members can now RSVP for your event.
